Sell your designs
A customer picks the colour and uploads a design. You get a print-ready file at 300 DPI with a 3mm bleed.
CHANGE THE PIECE ↴
DRAG TO ROTATEPut your ideas on something real.
A 3D studio for clothing & merch.
The graphic. The colour. The exact spot it lands. Make the decisions on the garment, then send the files to your printer.
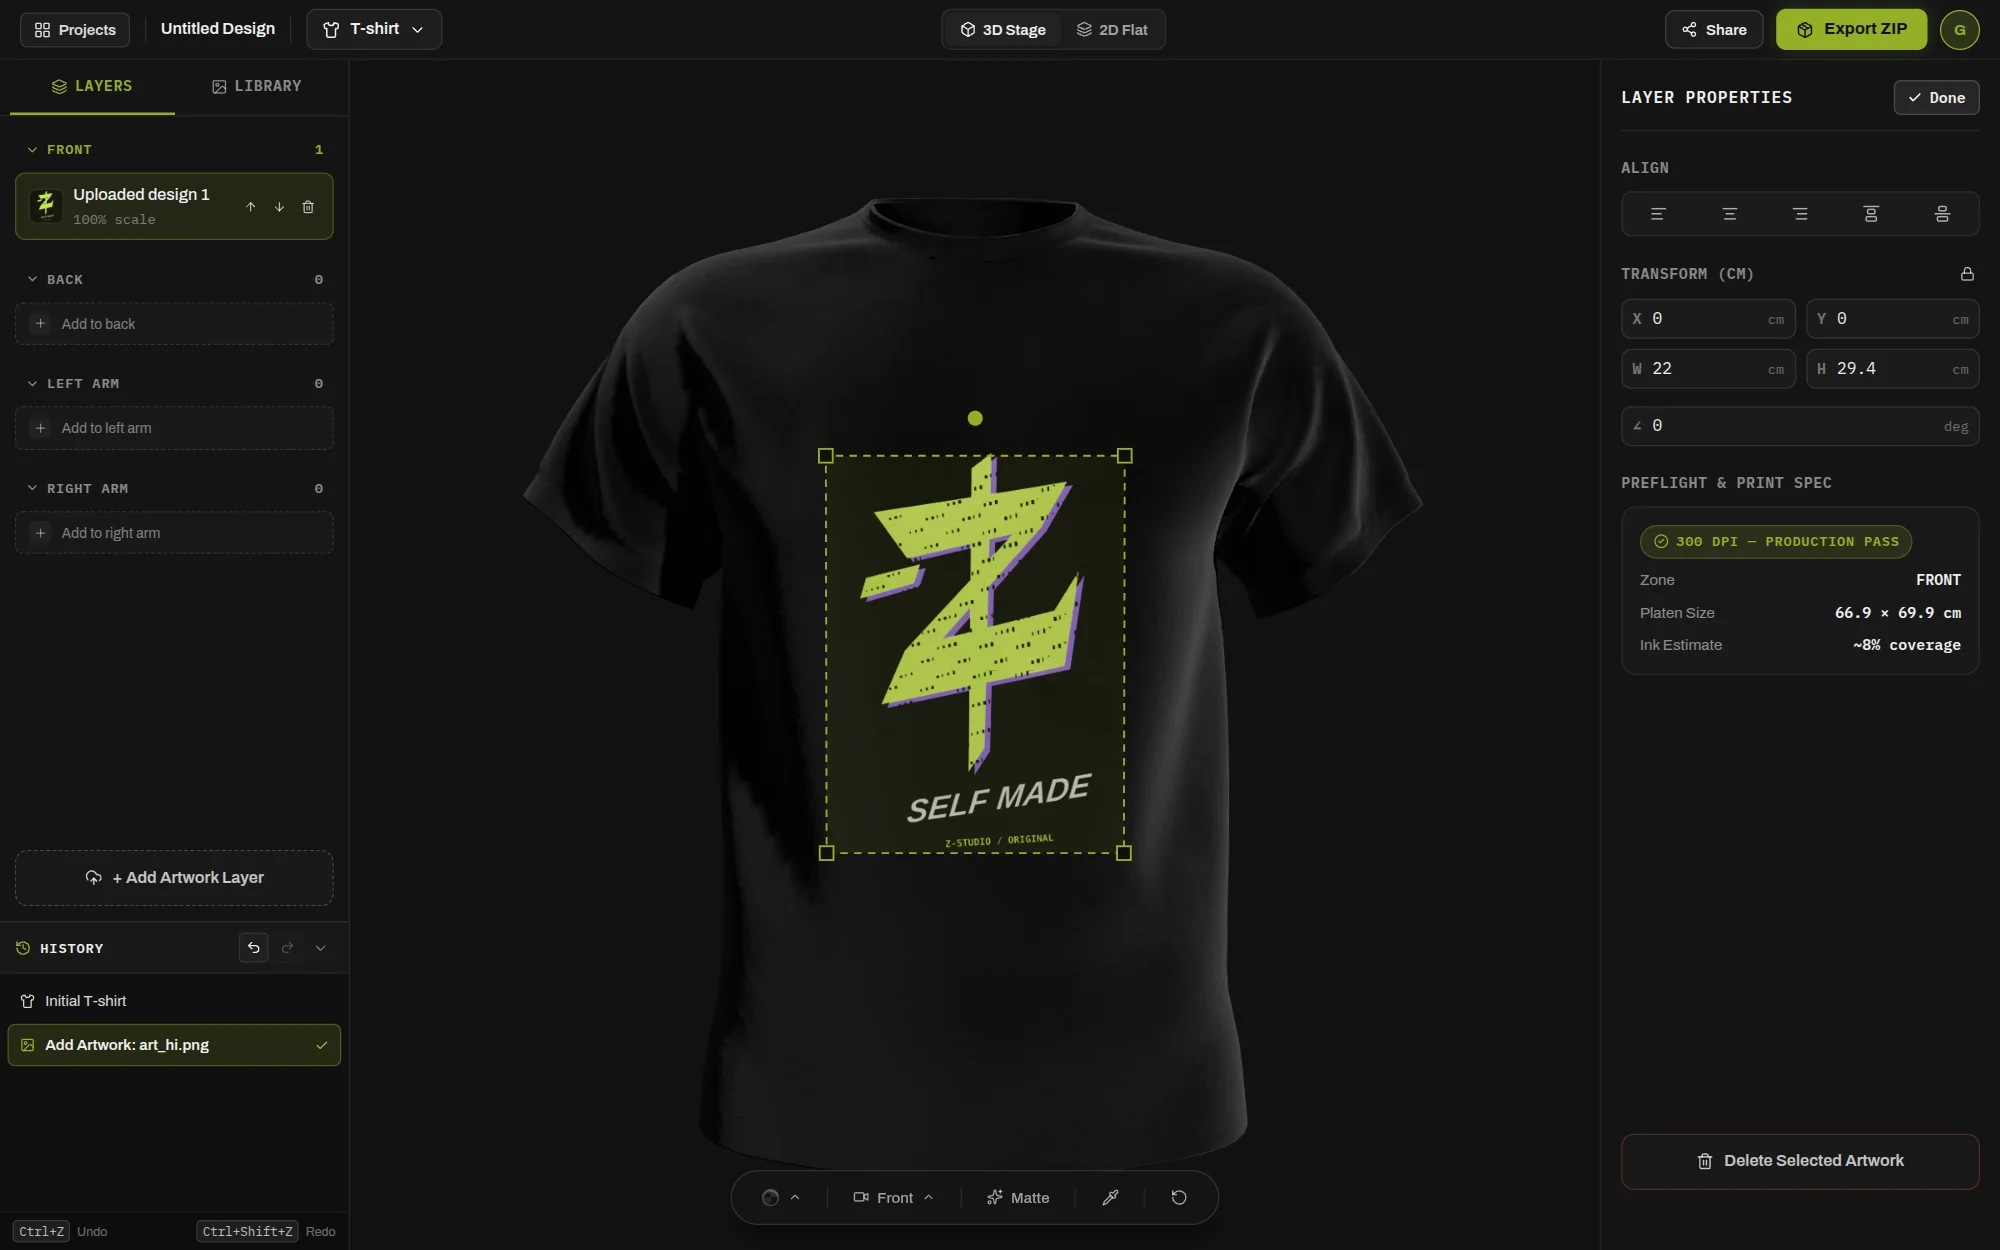
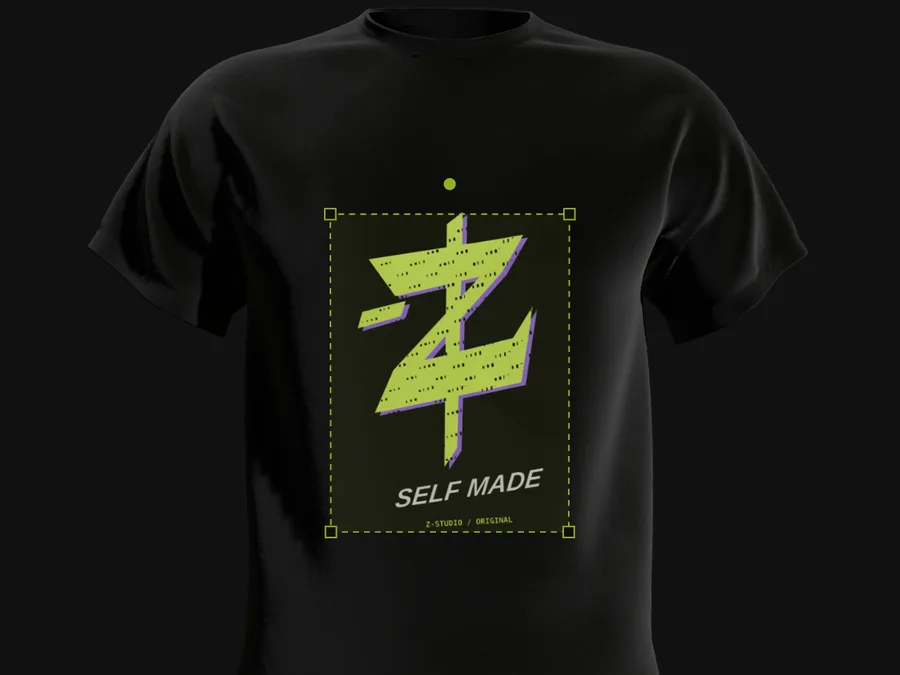
Drag, scale and rotate artwork straight on the 3D garment. Turn the piece and watch the print sit on the fabric.
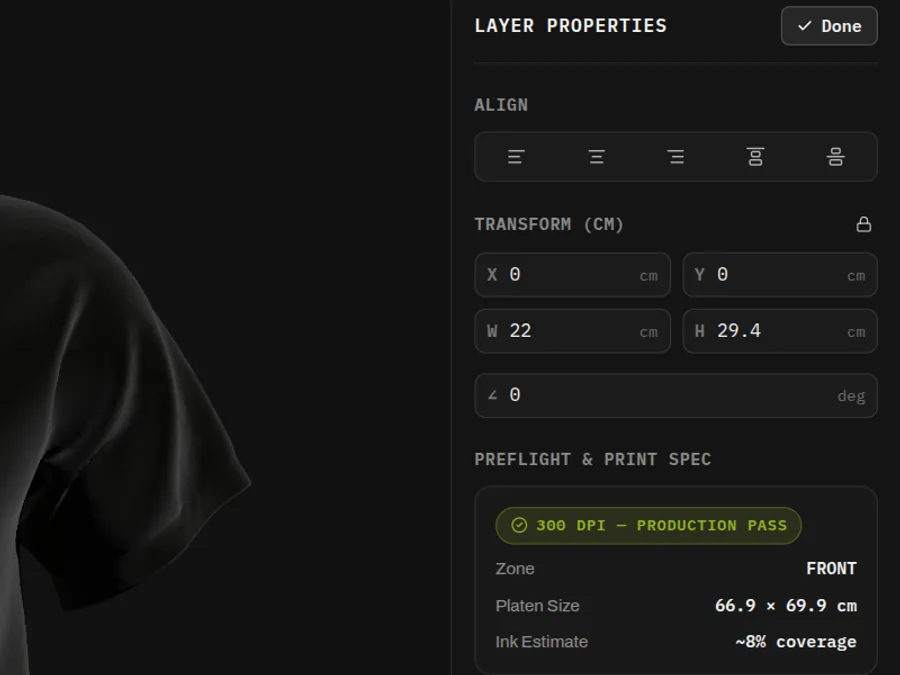
Position and size are set in centimetres, per face and per garment size, S to XXL. A 300 DPI preflight check flags artwork that is not print ready.
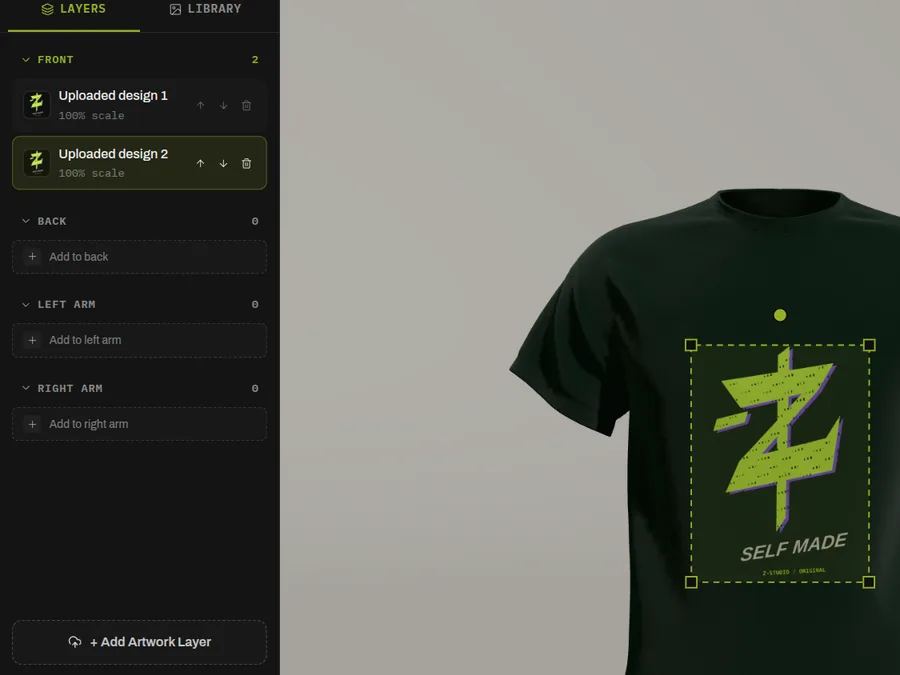
Front, back and both sleeves each keep their own stack of artwork. Undo and redo cover all of it, with a history you can scrub.
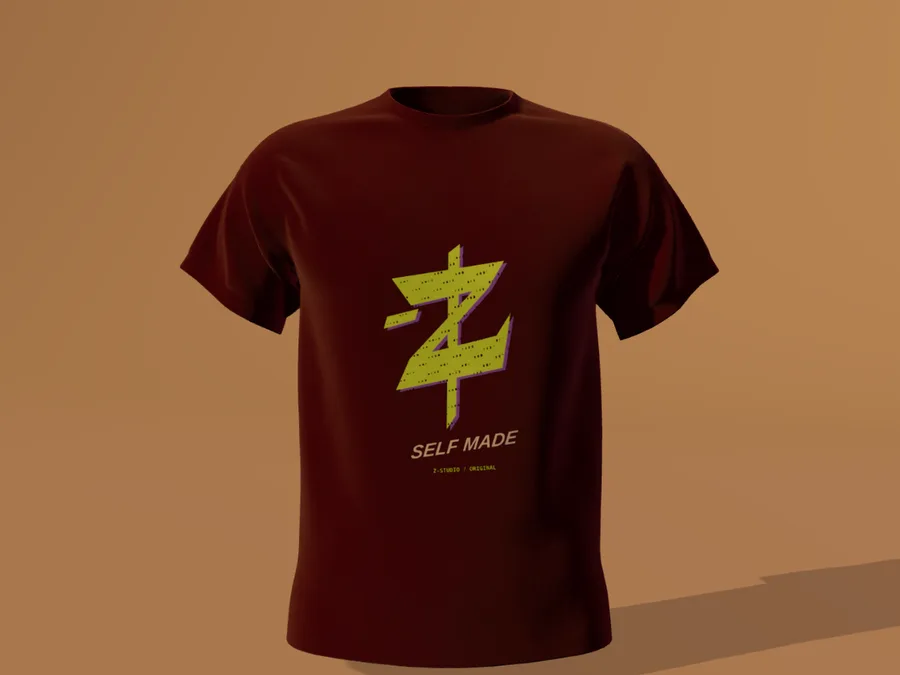
Recolour the garment, pick a lighting stage, then switch between the 3D stage, a flat pattern view and a cinema view.
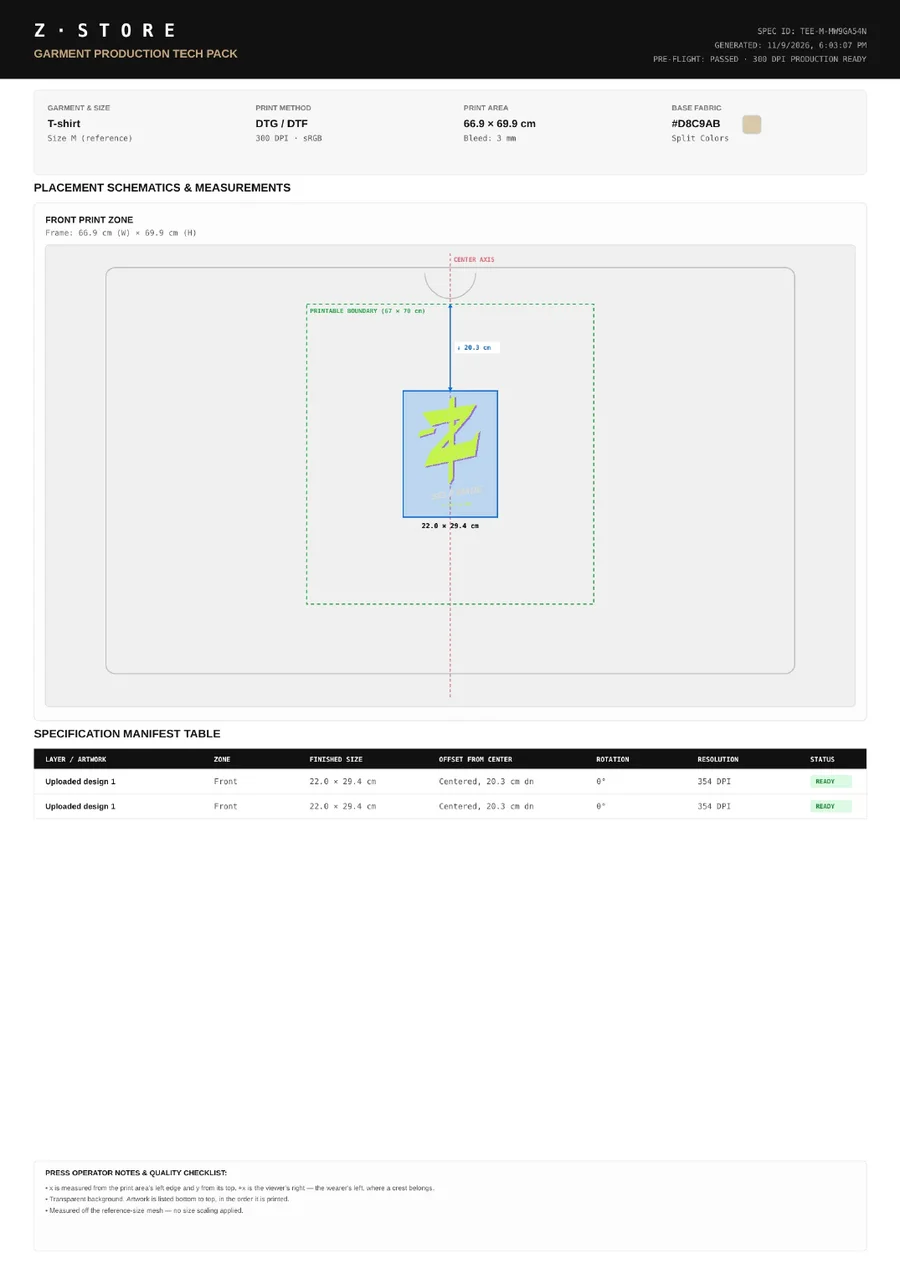
One ZIP: print artwork as PNG at the DPI you choose, a print spec as JSON, a tech-pack PDF and a mockup render.
Send a link, a QR code or an embed. Invite someone in and see their cursor and edits as they happen.
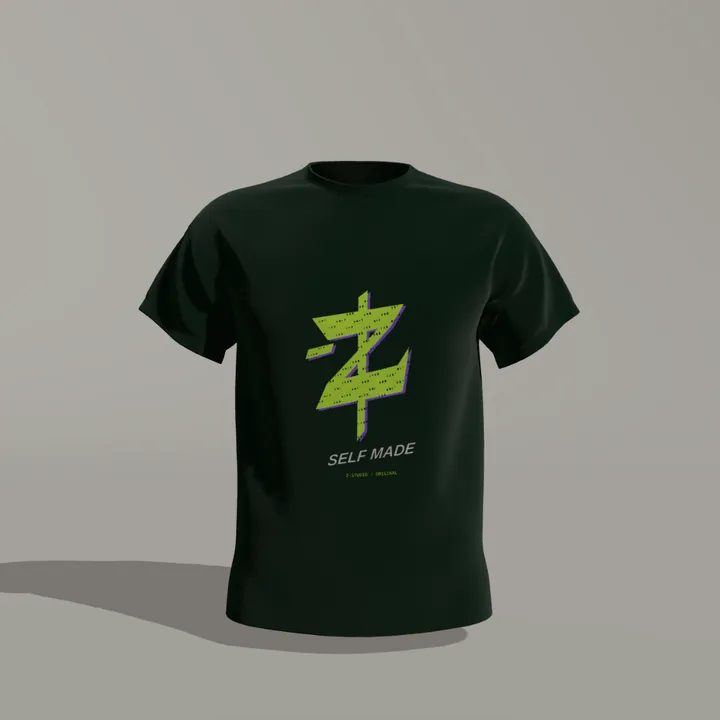 Teefront, back, both sleeves
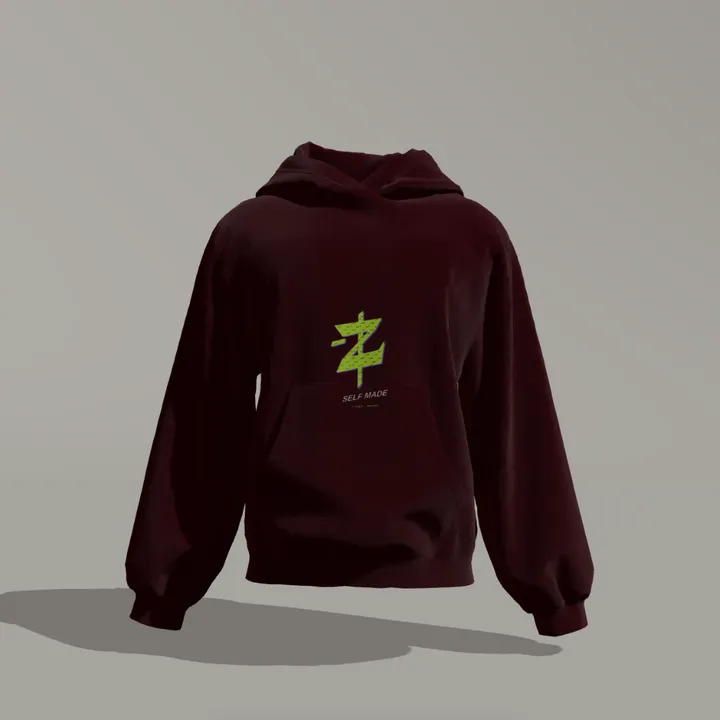 Hoodiehood and pocket kept clear
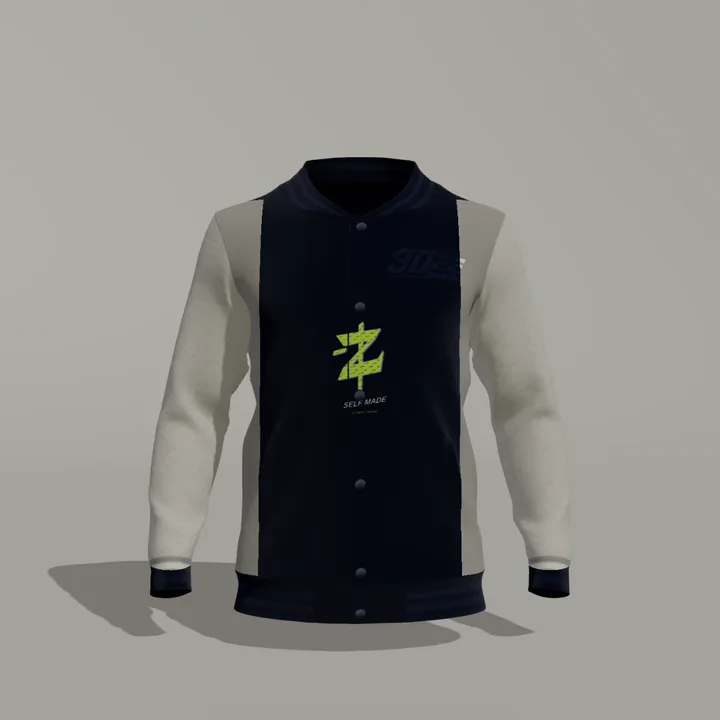 Varsity jacketbody, sleeves, ribbing
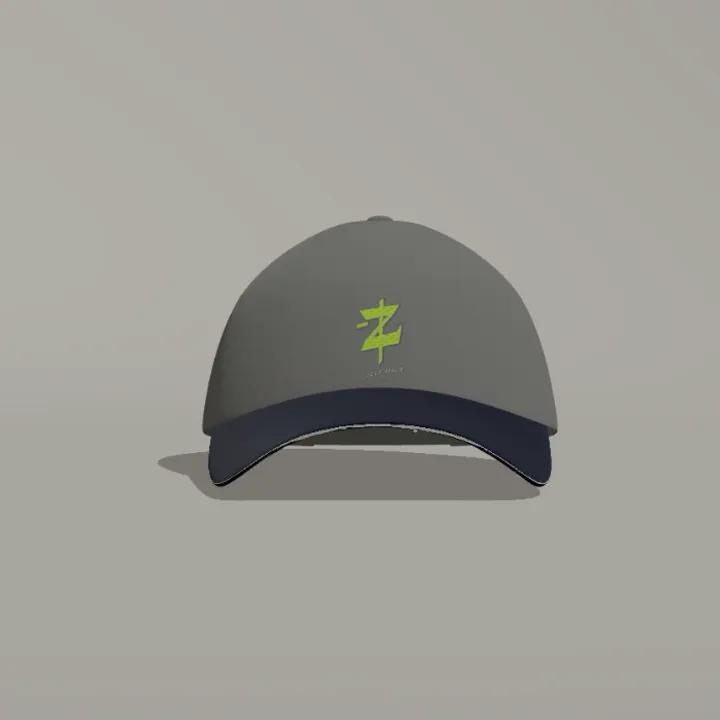 6-panel capfront, back, bill, sandwich
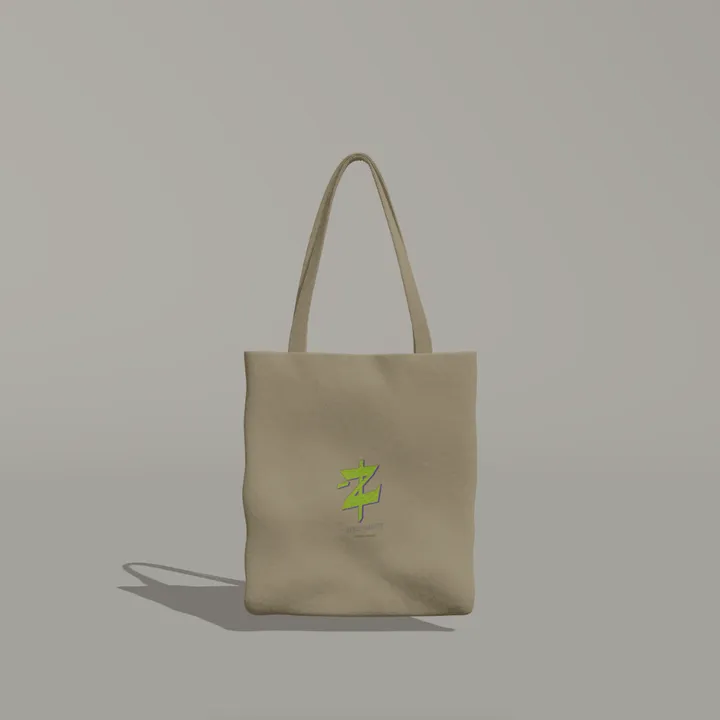 Totefront and back
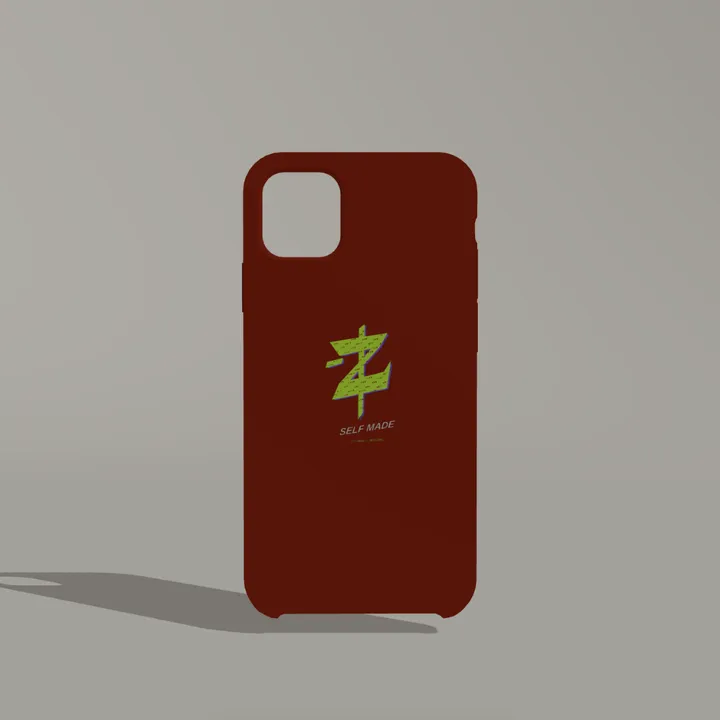 iPhone case14, 15, 15 Pro, 16
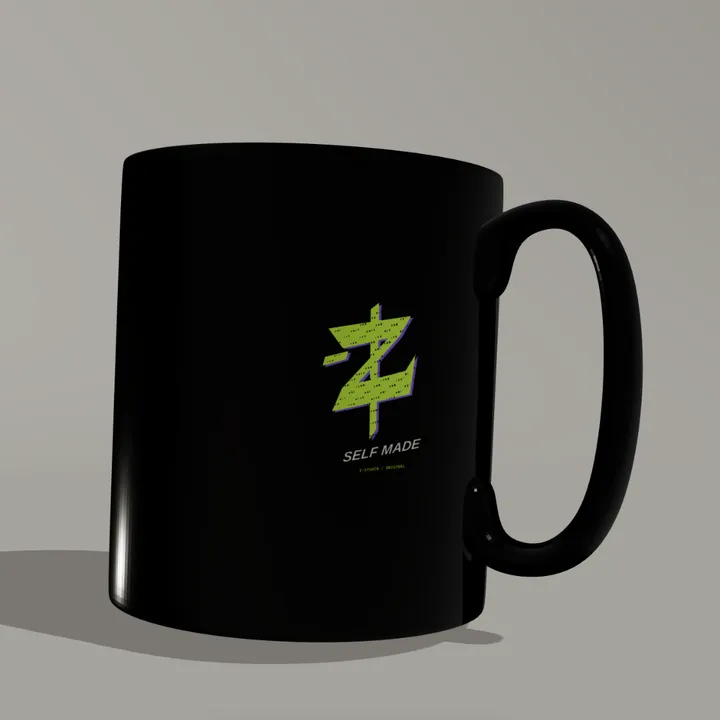 Mug11oz
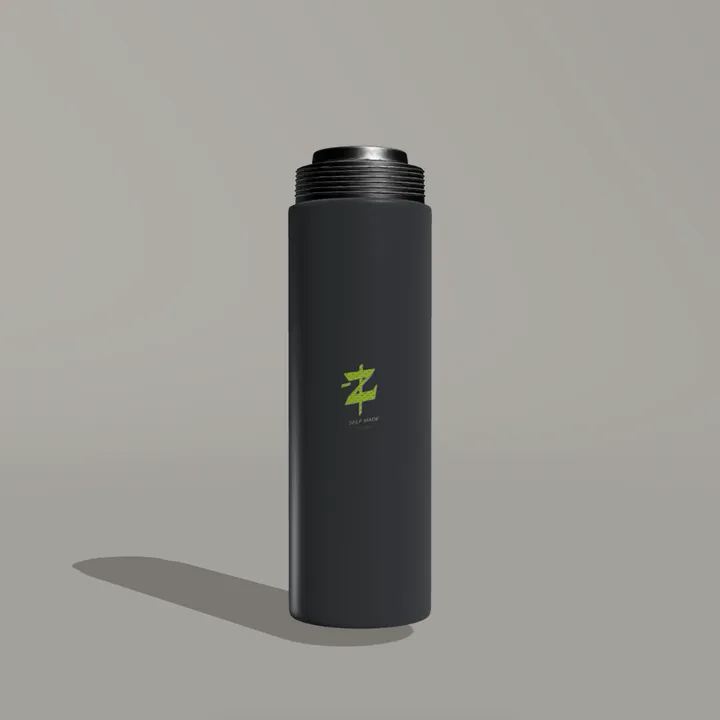 Thermos500ml
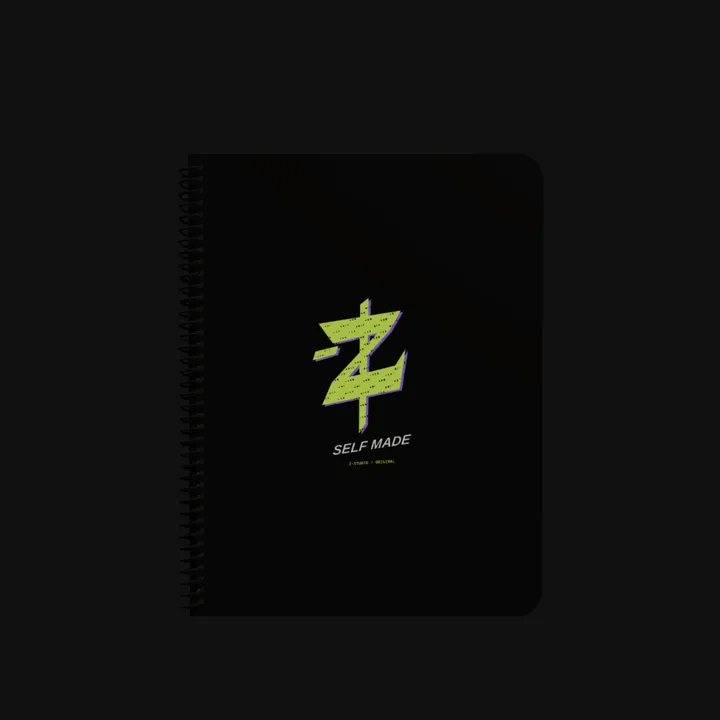 A5 notebookboth covers
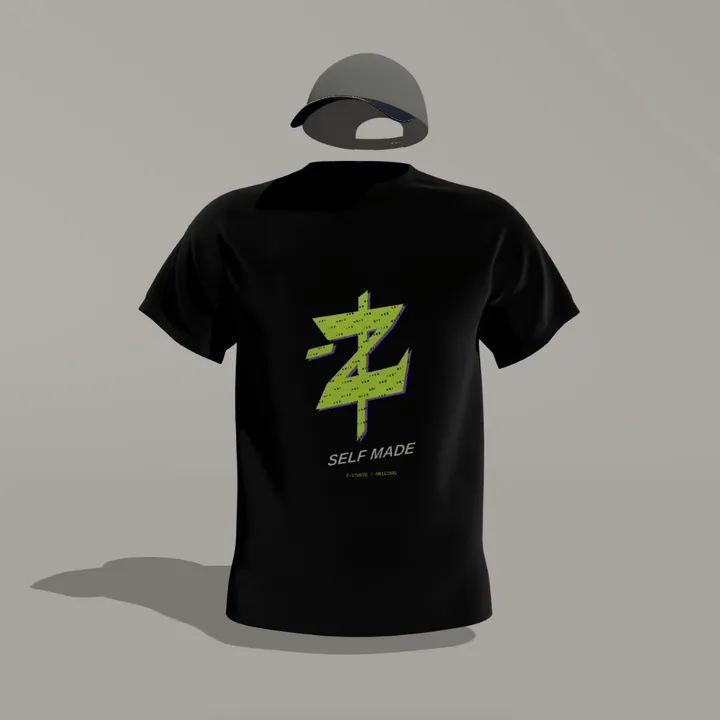 Cap + tee scene
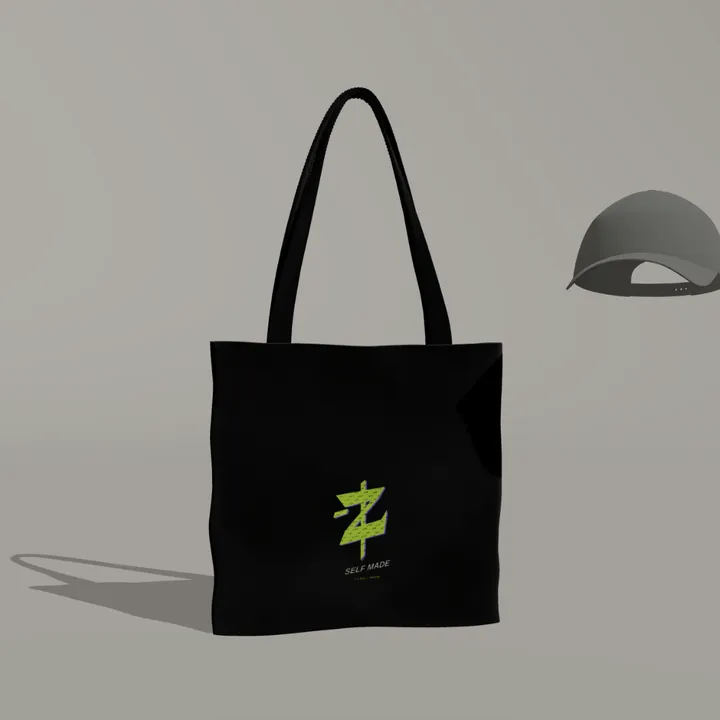 Tote + cap scene
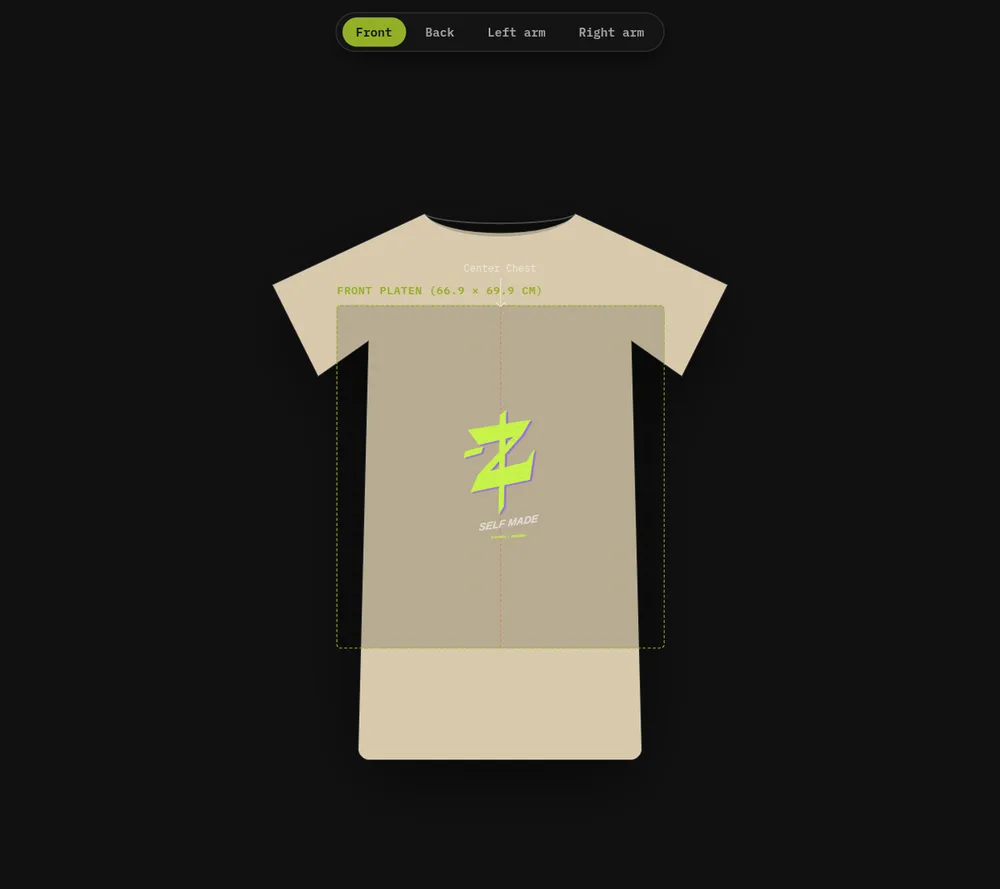 Flat pattern view
Also on the list: Business card (both faces).
Not on the list? Import a .glb or .gltf and design on your own 3D model.
A customer picks the colour and uploads a design. You get a print-ready file at 300 DPI with a 3mm bleed.
Zones, layers and colour parts with nothing in the way. Build it, break it, export the mockup.
No dragging. Tick what the shirt carries and each print lands where a printer expects it, sized in centimetres.
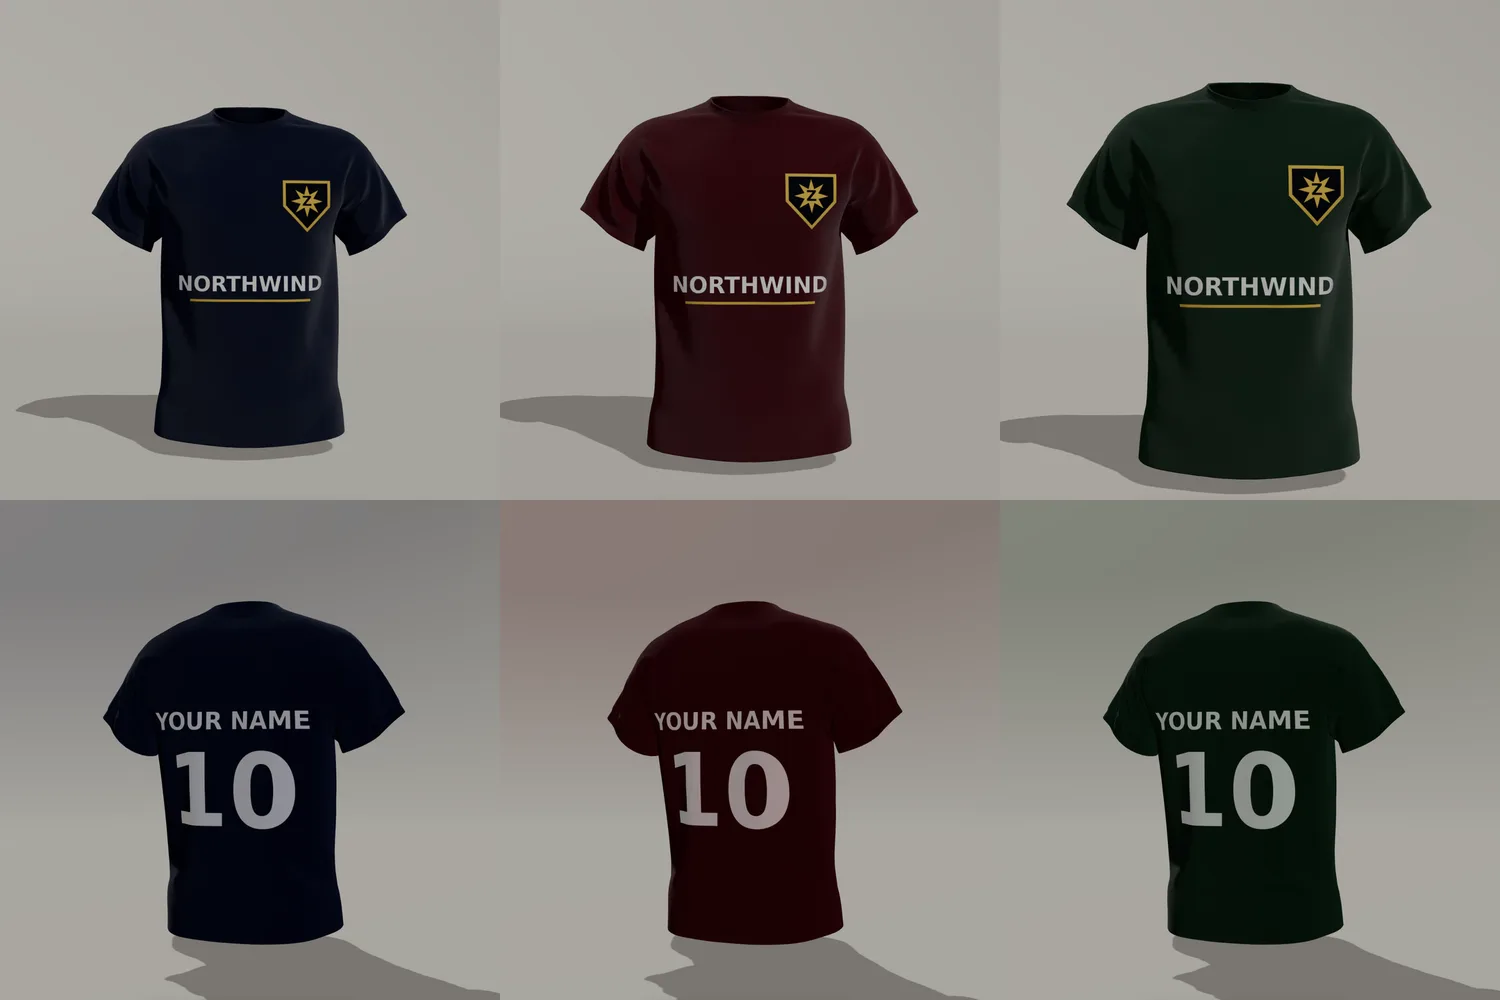
Kit printing has rules, so the studio has a checklist. Left chest is the wearer's left, so it sits on the right-hand side as you look at the shirt. Pairs that cannot share a shirt switch each other off instead of stacking.
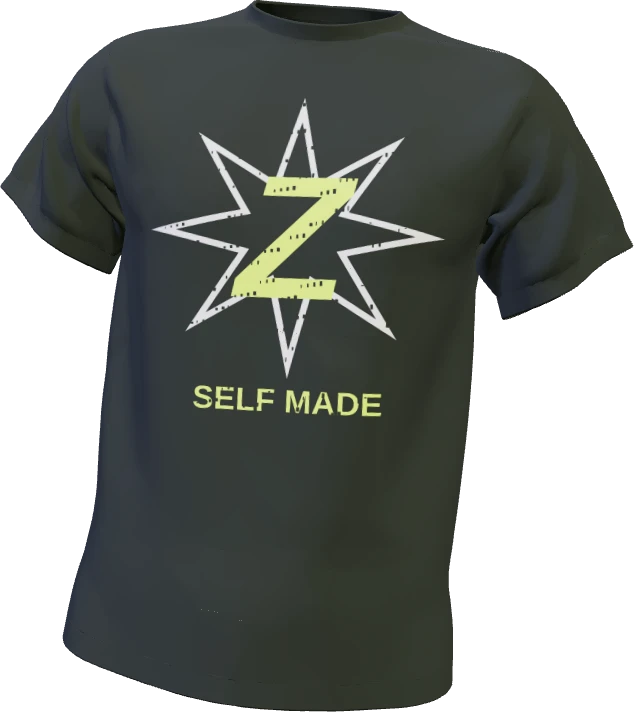
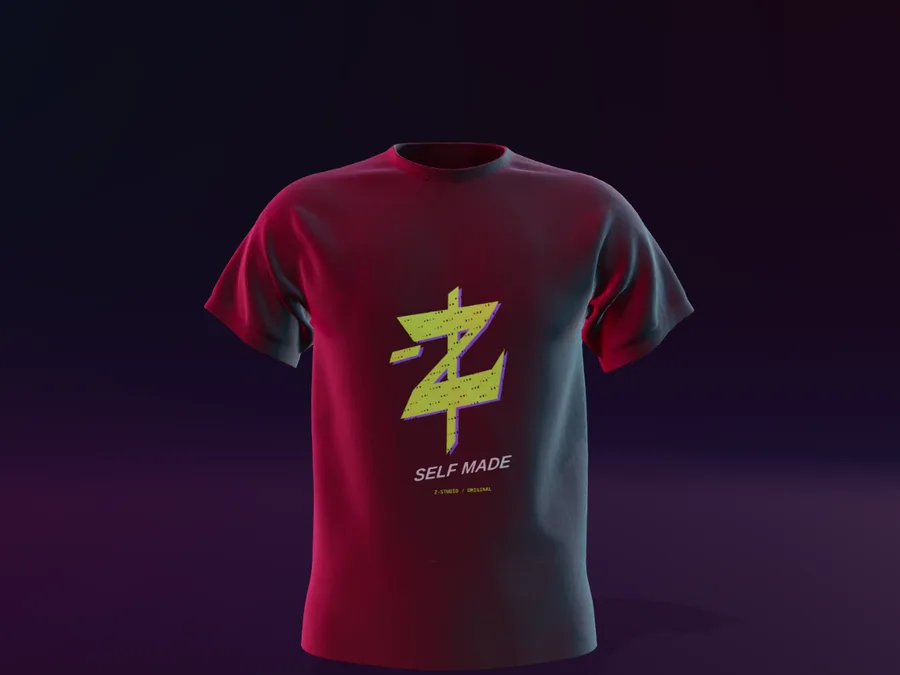
Eleven lighting stages. A turntable. A cinema view.
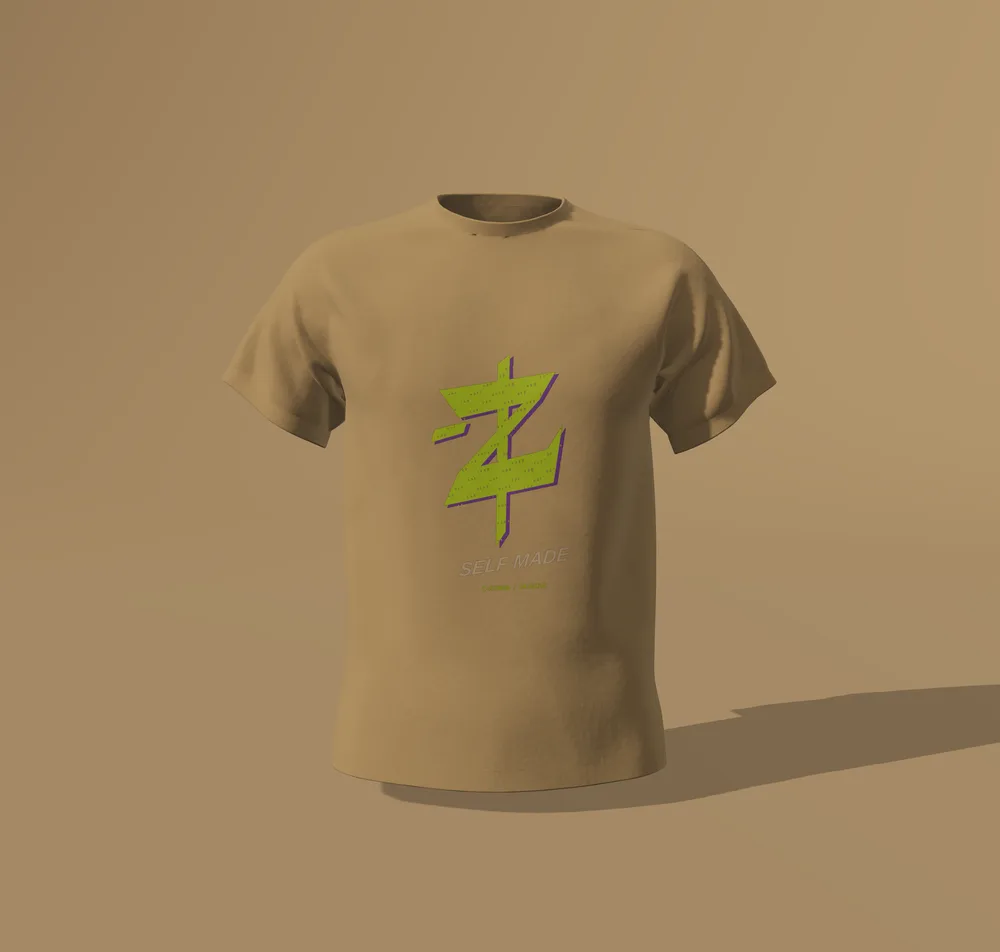
Make the piece, then get its good side.
{
  "surface": { "id": "tee", "label": "T-shirt" },
  "size": "M",
  "printAreaCm": { "w": 66.9, "h": 69.88 },
  "settings": {
    "dpi": 300,
    "bleedMm": 3,
    "colourSpace": "sRGB",
    "units": "cm"
  }
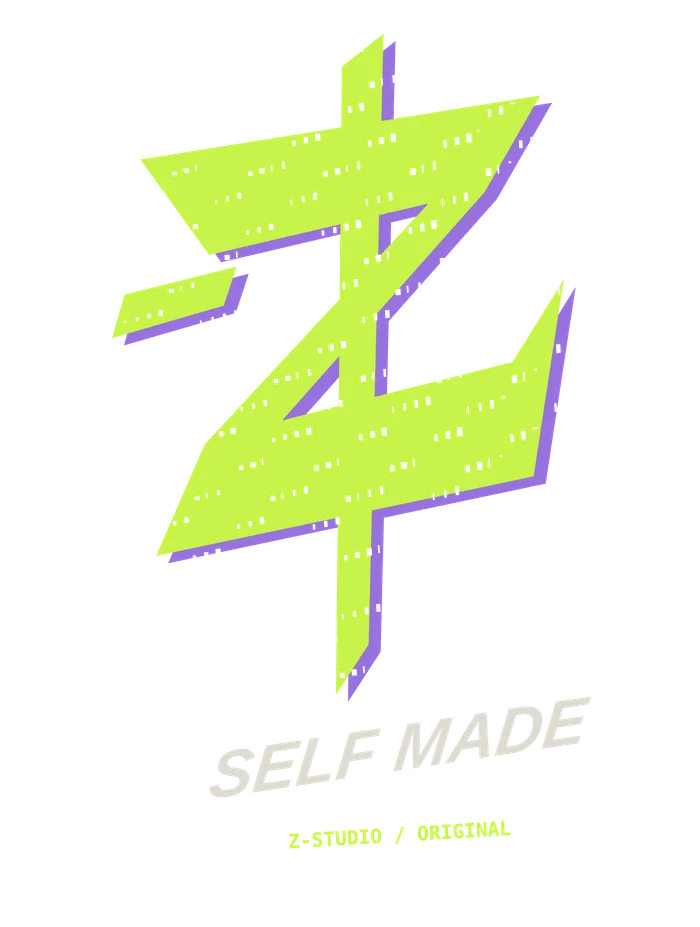
}The print spec carries the size and position of every design in centimetres, for the size that was ordered, plus the fabric colour per part and the settings the files were written with.
Files are sRGB with no ICC profile. They are not CMYK. Your printer's RIP does that conversion.
Send a link, a QR code or an embed code. Invite someone into the project and watch their cursor move while you both edit.
Link / QR code / Embed / Live cursors
Every design is a saved project with a thumbnail. Star it, rename it, duplicate it, trash it, switch between grid and list.
Star / Rename / Duplicate / Trash / Grid view / List view
Z-Studio is configured, not rebuilt. A customer brings their own surfaces, colours, preset marks and curated combos, and the editor opens as theirs. A new customer is a new entry, not a new build.
Talk to MZ ↗Start on a blank garment in your browser. Sign up when you want projects saved to your account.
Projects you start without an account are kept in that browser.